Grinding burn & coating inspection
Non-destructive, contactless and fully automated.
With our laser thermography, you can reliably identify defects in grinding and coating processes — precisely, without leaving any residue and inline.

How it works — explained in a nutshell
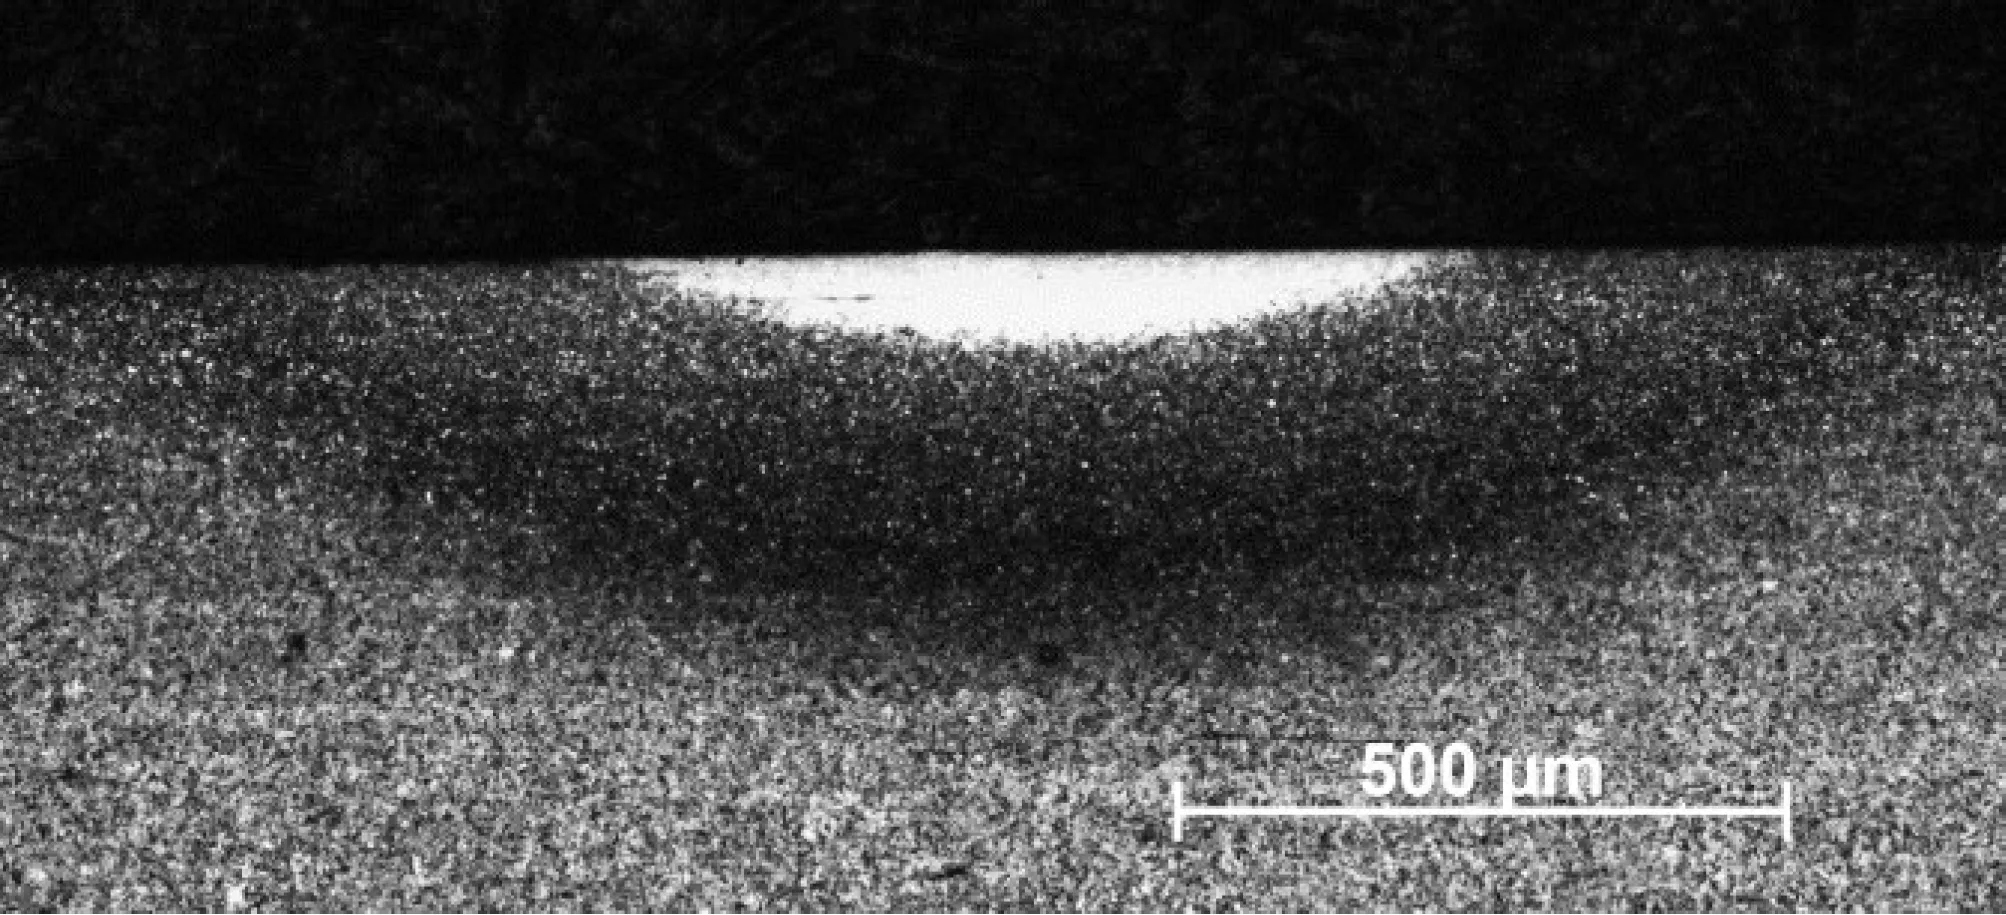
Our systems use active laser thermography: the component surface is periodically heated with laser light. The resulting heat spreads inward—depending on hardness, material structure, or coating. An infrared camera captures the thermal response. Through so-called lock-in analysis, meaningful phase and amplitude images are generated, providing insights into layer thickness, microstructure, or thermal damage—in real time and without contact.
What is inspected?
Our systems reliably detect:
- Grinding burn and thermal damage
- Heat-affected zones & hardened zones
- Insufficient or missing coatings
- Delaminated or detached layers
- Defects in paint, adhesives, or sealants
- Hardening depth after heat treatment
Typical Components & Applications:
Valves, gears, shafts, worms, tools, bearing components, medical products, packaging, coated functional surfaces, high-gloss parts
Industries:
Automotive, medical technology, mechanical engineering, aerospace, packaging, toolmaking
Thermographic Functionality
Laser Thermography
Defects influence the heat flow, leading to local temperature differences. These differences are captured and analyzed by an infrared camera.
Still unsure whether we can test your product?
In a short initial consultation, we will explain how we can provide you with useful support with thermography — clearly, transparently and without obligation.
FAQ
Our frequently asked questions — answered quickly and easily.
How does nital etching work?
In nital etching the surface is treated with an acid solution to make grinding burn visible.
find out moreWhat is Barkhausen noise?
Barkhausen noise is a magnetic phenomenon used for the non-destructive testing of grinding burn.
find out moreWhat is grinding burn and how does it occur?
Grinding burn is a thermally induced damage to the surface of the workpiece caused by excessive heat generation during grinding.
find out moreWhat methods are there for grinding burn testing?
The methods include nital etching, Barkhausen noise and surface crack inspection (fluxing).
find out moreWhen is a surface crack inspection useful?
Surface crack inspection is advisable when fine cracks are suspected on the workpiece surface.
find out more


